Fast facts:
Though frequently under-discussed, proper c section incision care is a critical part of the healing process. More specifically, many individuals who deliver by cesarean aren’t informed about the benefits of c section scar massage during recovery.
When performed correctly, under the guidance of a trusted health professional, this simple exercise can prevent a variety of scar-related complications, from numbness and tightness to limitations in movement.
Here’s more on the importance of scar massage and how to get started.
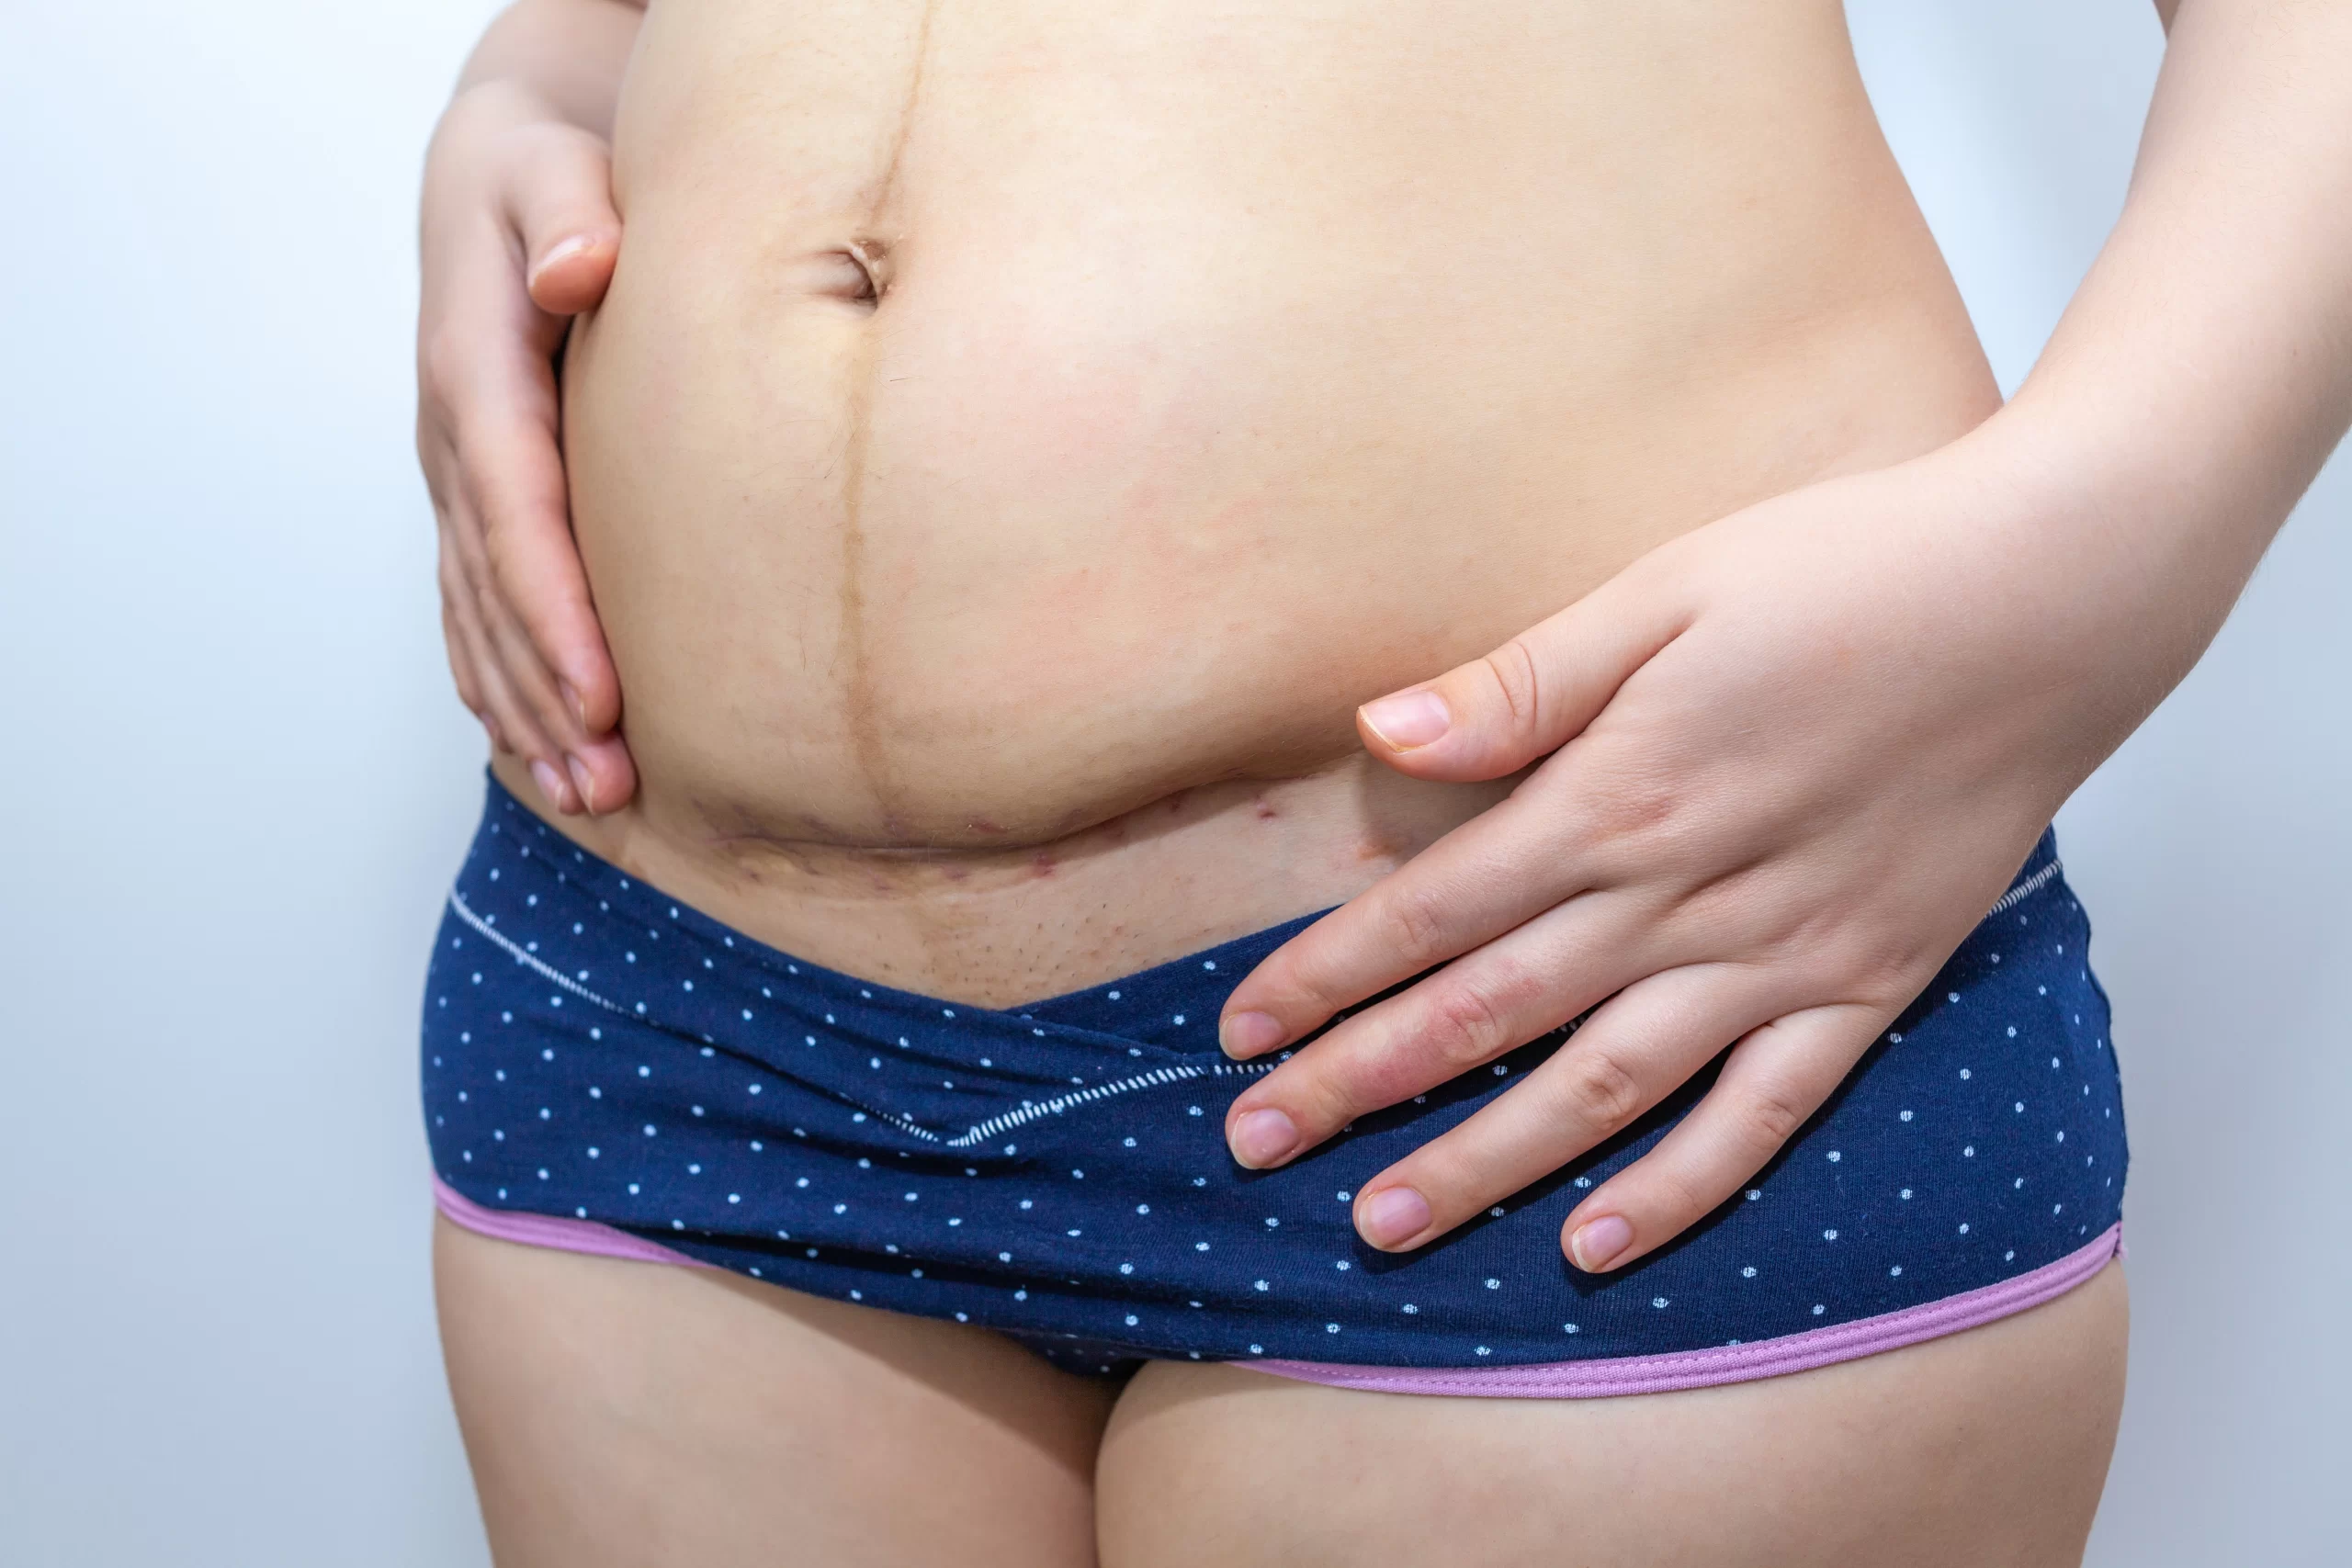
Scar tissue is the new tissue that forms during the healing process after the skin has been cut or injured. It closes the wound and fills in gaps in the skin that developed from the injury or procedure.
During this phase, platelet cells and white blood cells help stop bleeding and prevent infection. The scar is typically pink and swollen in appearance.
As collagen forms near the incision, damaged skin is pulled together and new blood vessels form. The scar becomes thicker in appearance as a scab forms.
As the scar flattens against the skin, it fades from a raw, red appearance to the color of natural flesh. Scar massage is most beneficial during this phase since the scar tissue is actively forming.
While a c section scar massage offers many benefits, it should always be performed safely. There are different levels of intensity, as explained below, and it’s important to ease into the practice.
In addition, speak with a health professional before starting to massage the scar. Scar massage should not be performed before three weeks after surgery. Additionally, the incision should be fully healed and the scab should be gone.
Even if a provider or physical therapist has given you clearance to begin massaging, you should stop if you experience severe pain at any point during or after a massage.
If the scar reopens during a massage, stop and speak with a health professional for guidance on how to proceed.
Before engaging in deeper massage, it’s important to help your scar get used to touch (and help you get used to touching your scar).
To desensitize the derma, gently tap or rub your scar and the surrounding skin with your fingers or a cotton ball as a first step.
As you become more comfortable with this gentle exercise, you can use other textures like terry cloth, a makeup brush, or a silicone toothbrush.
Once your scar is less sensitive, you can use a series of massage techniques to break up deeper tissues. Be sure to practice all techniques, as each serves a distinct purpose. Consistency is key for best results.
This technique is the starting point of a mobilizing scar massage routine. It promotes increased blood flow to the area of incision, which initiates the breakdown of tissue and sets the stage for deeper work.
Use the pads of one to three fingers to simply apply pressure across the top of the scar. Begin at one end of the scar and move across, applying pressure above, on top of, and below the scar in short increments.
Building on the foundation established by sustained massage, this technique begins to more deeply break down the tissues of the scar and surrounding areas, creating more friction between the layers of tissues.
Using enough pressure to move the skin as well as the tissue underneath, use the pads of the fingers to draw large circles.
Begin at one end of the scar and move across slowly. Repeat in the other direction.
Deeper and more intense than sustained and circular massage, this technique approaches the underside of the scar tissue, beginning to separate it from the layers beneath.
Pinch your scar between your thumb and index finger and roll it between the fingertips. Move from one end to the other, pinching both horizontally and vertically over the scar. Use firm pressure.
To ensure enough friction for your fingers to firmly grip your skin, do not use lotions or oils when practicing any type of mobilizing scar massage. This will help connect with the deeper layers of scar tissue.
After consistent scar massage using the techniques above, you may explore more advanced scar massage with silicone cups.
Cupping will promote greater mobility of the tissues and increased blood flow, breaking up scar tissue even more deeply.
At Ruth Health, we understand that nobody knows what you need better than you. We provide expert, evidence-based maternal advice so that you can make the best decisions for yourself.
Sign up below for a free copy of our e-book on postpartum care, plus 20% off of your next booking!
Subscribe to our newsletter

Sign up for our free e-book, plus 20% off of your next booking!